When I read the official documentation of Authentik, I was a bit confused at first. So that, I documented it myself here.
In your AWS account, create a role
- Go to AWS IAM > Roles > Create new role. I created role for ECR, IAM, and EC2 read only access.
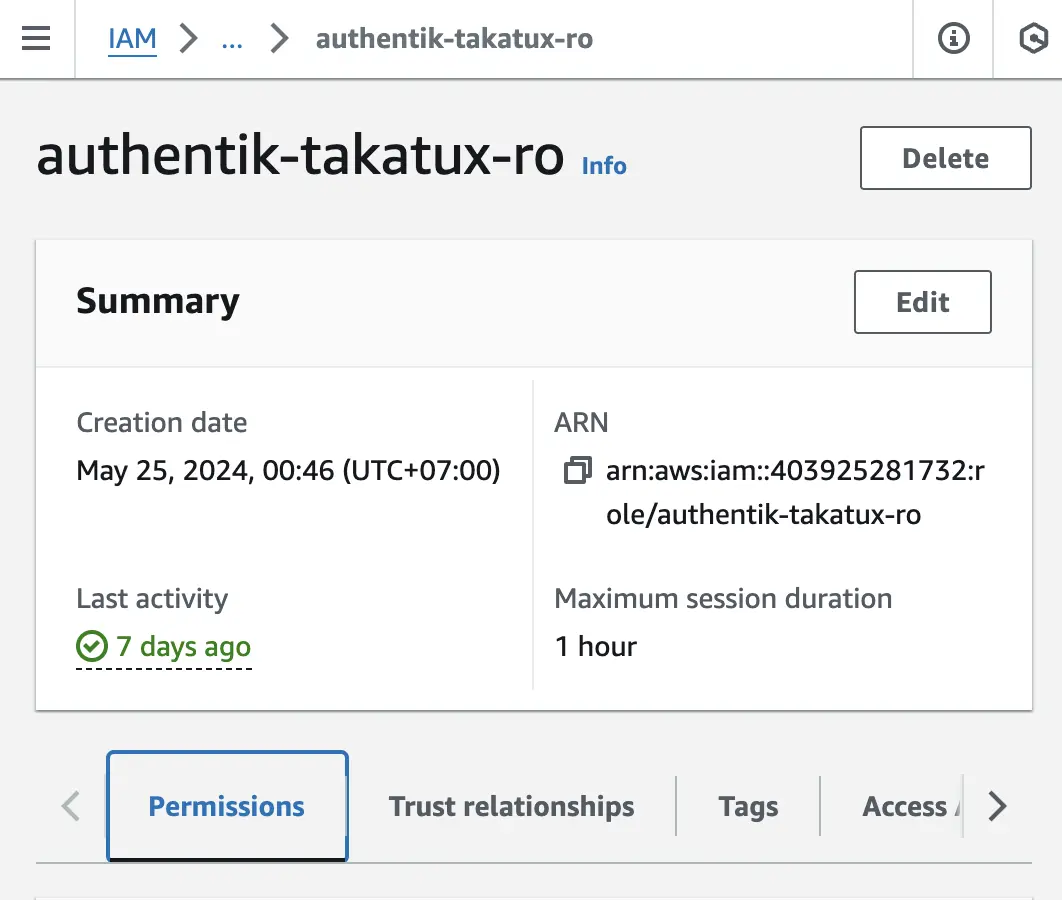
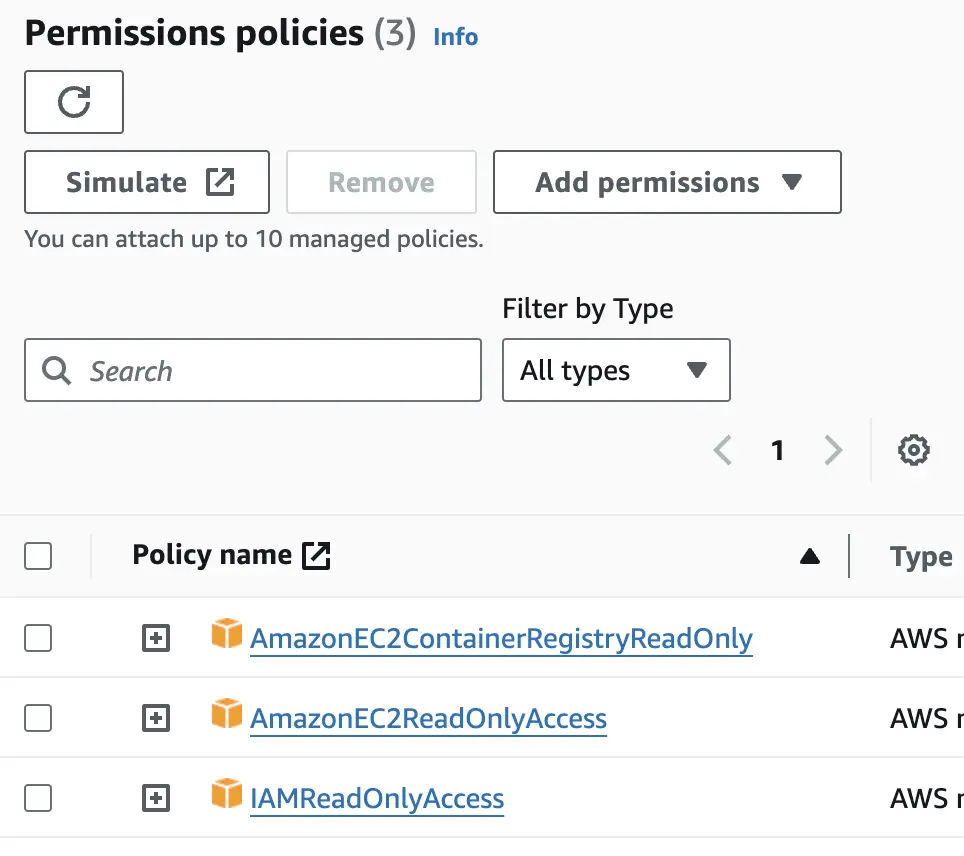
- Note the ARN
In Authentik
- Go to
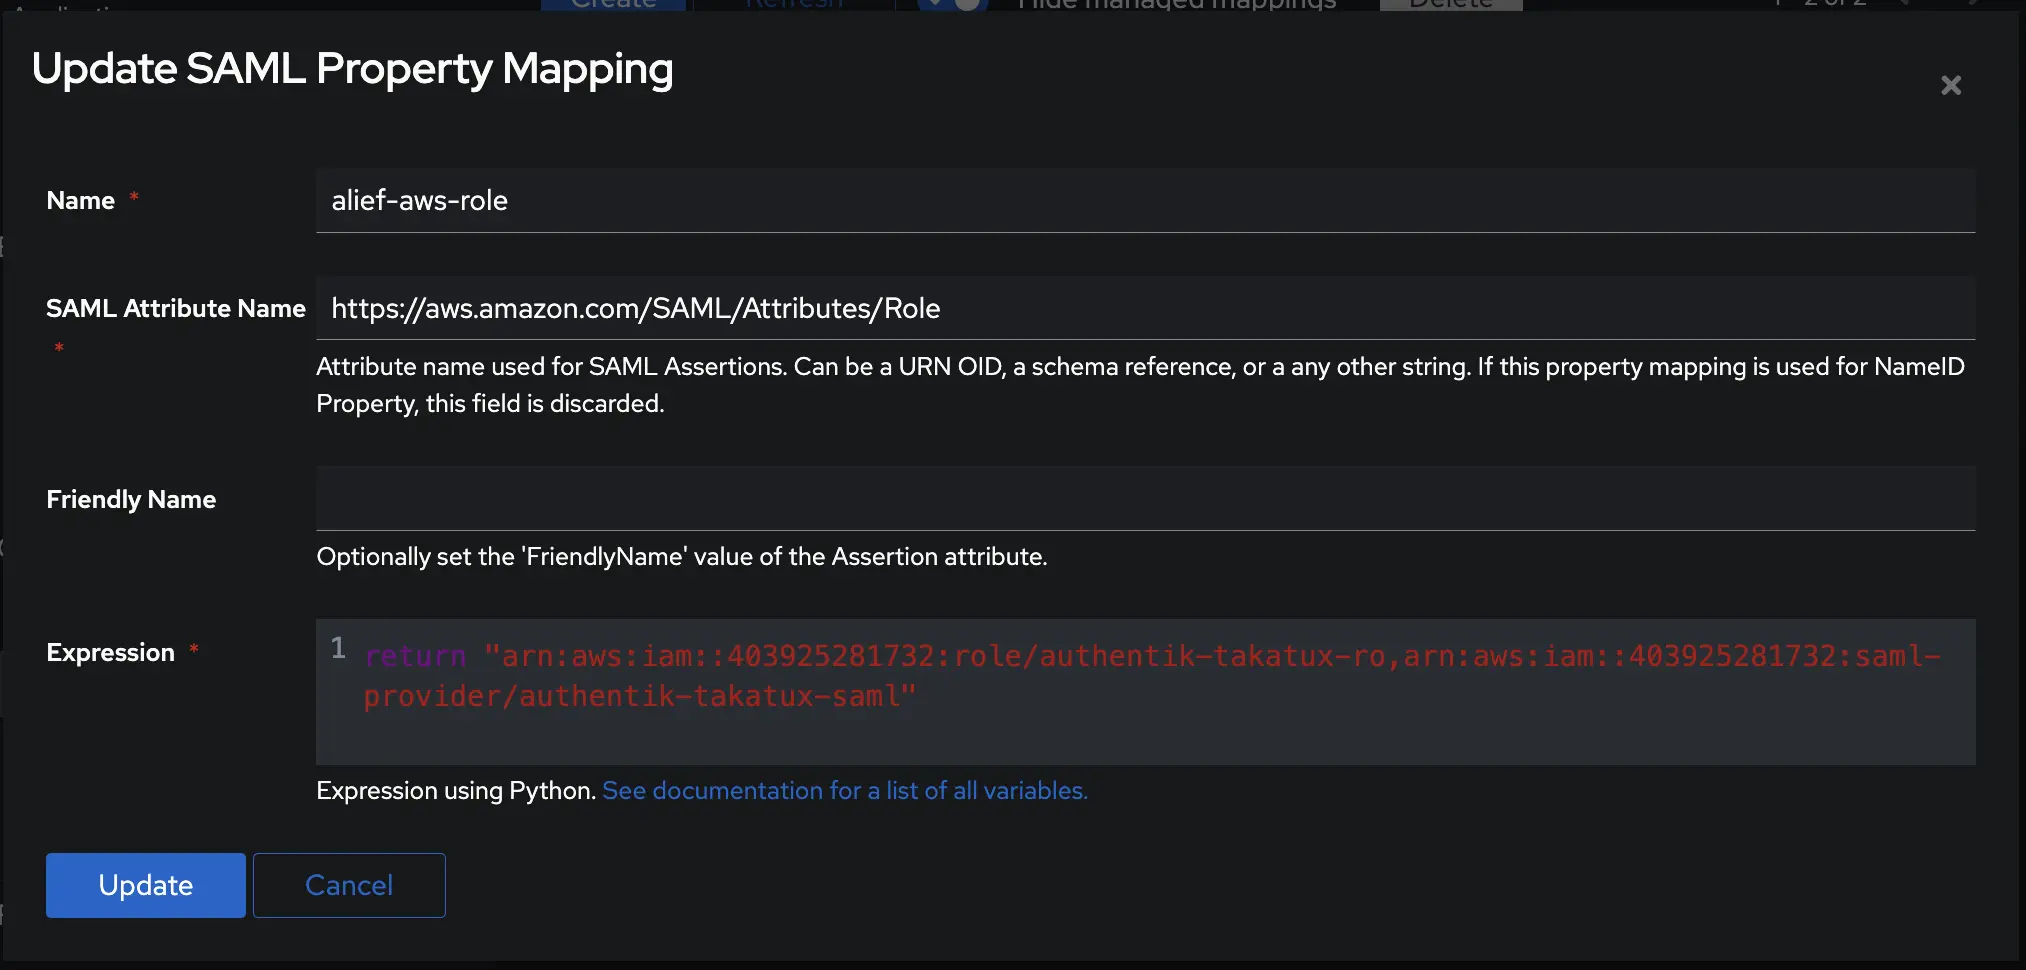
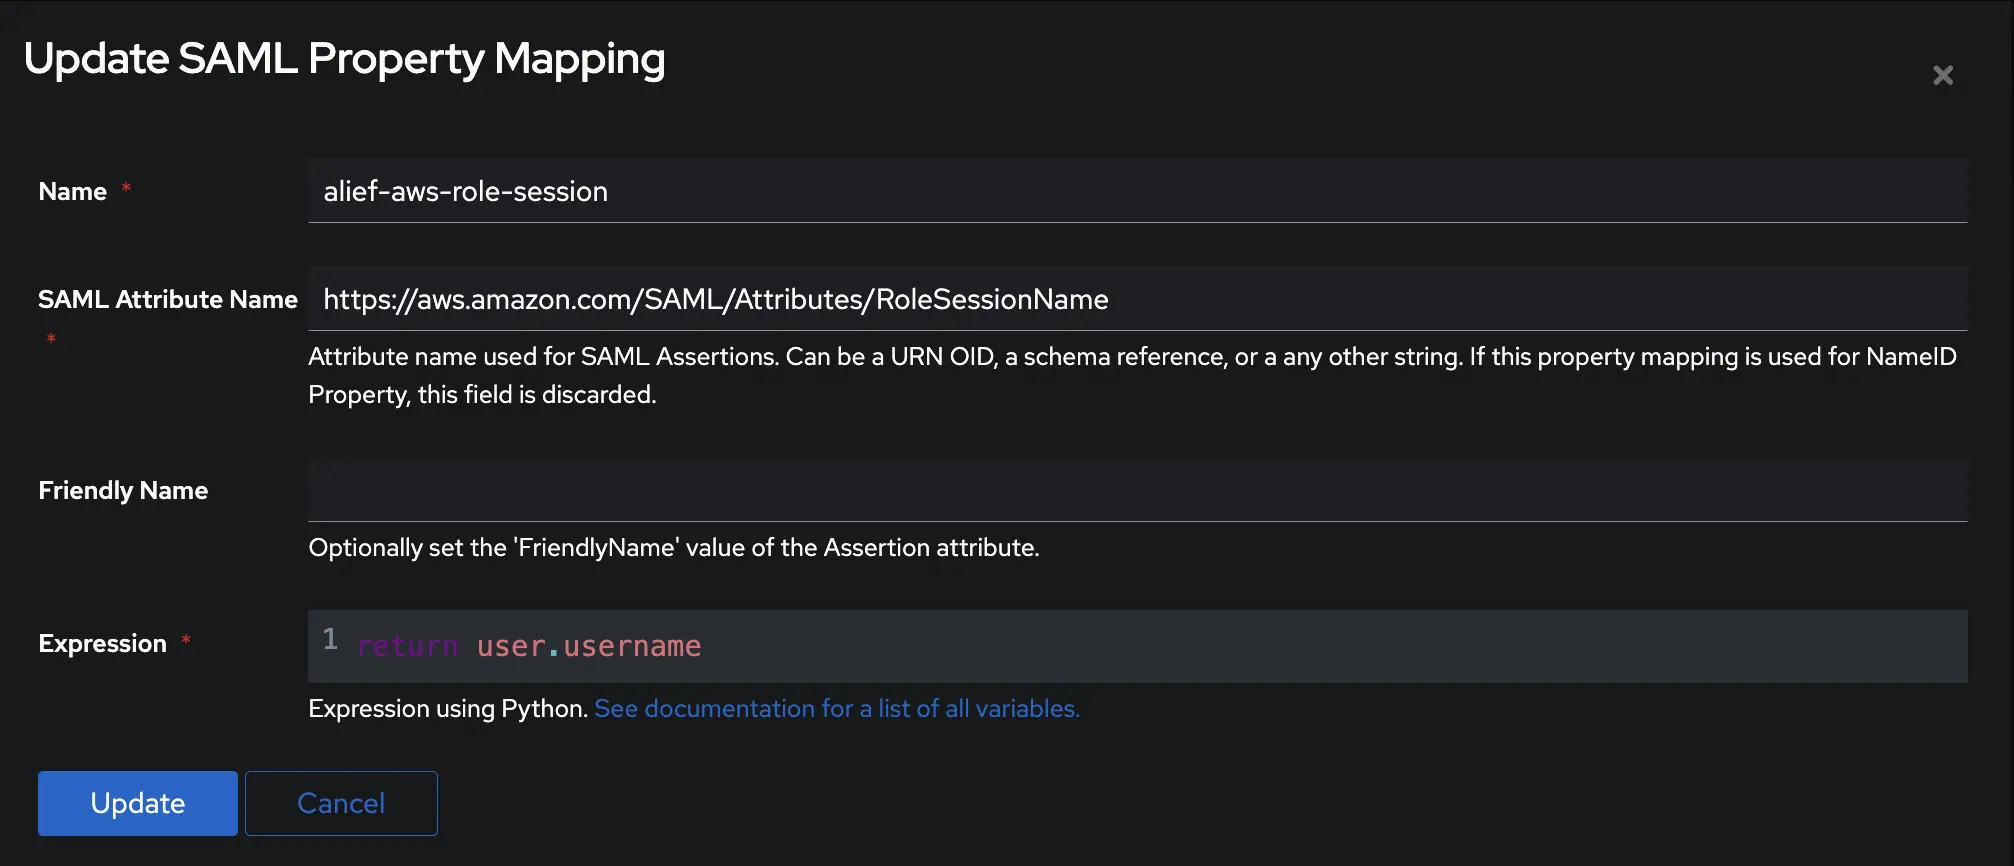
admin interface> on the left menu > Customization > Property Mappings - Add this 2 Property Mappings :
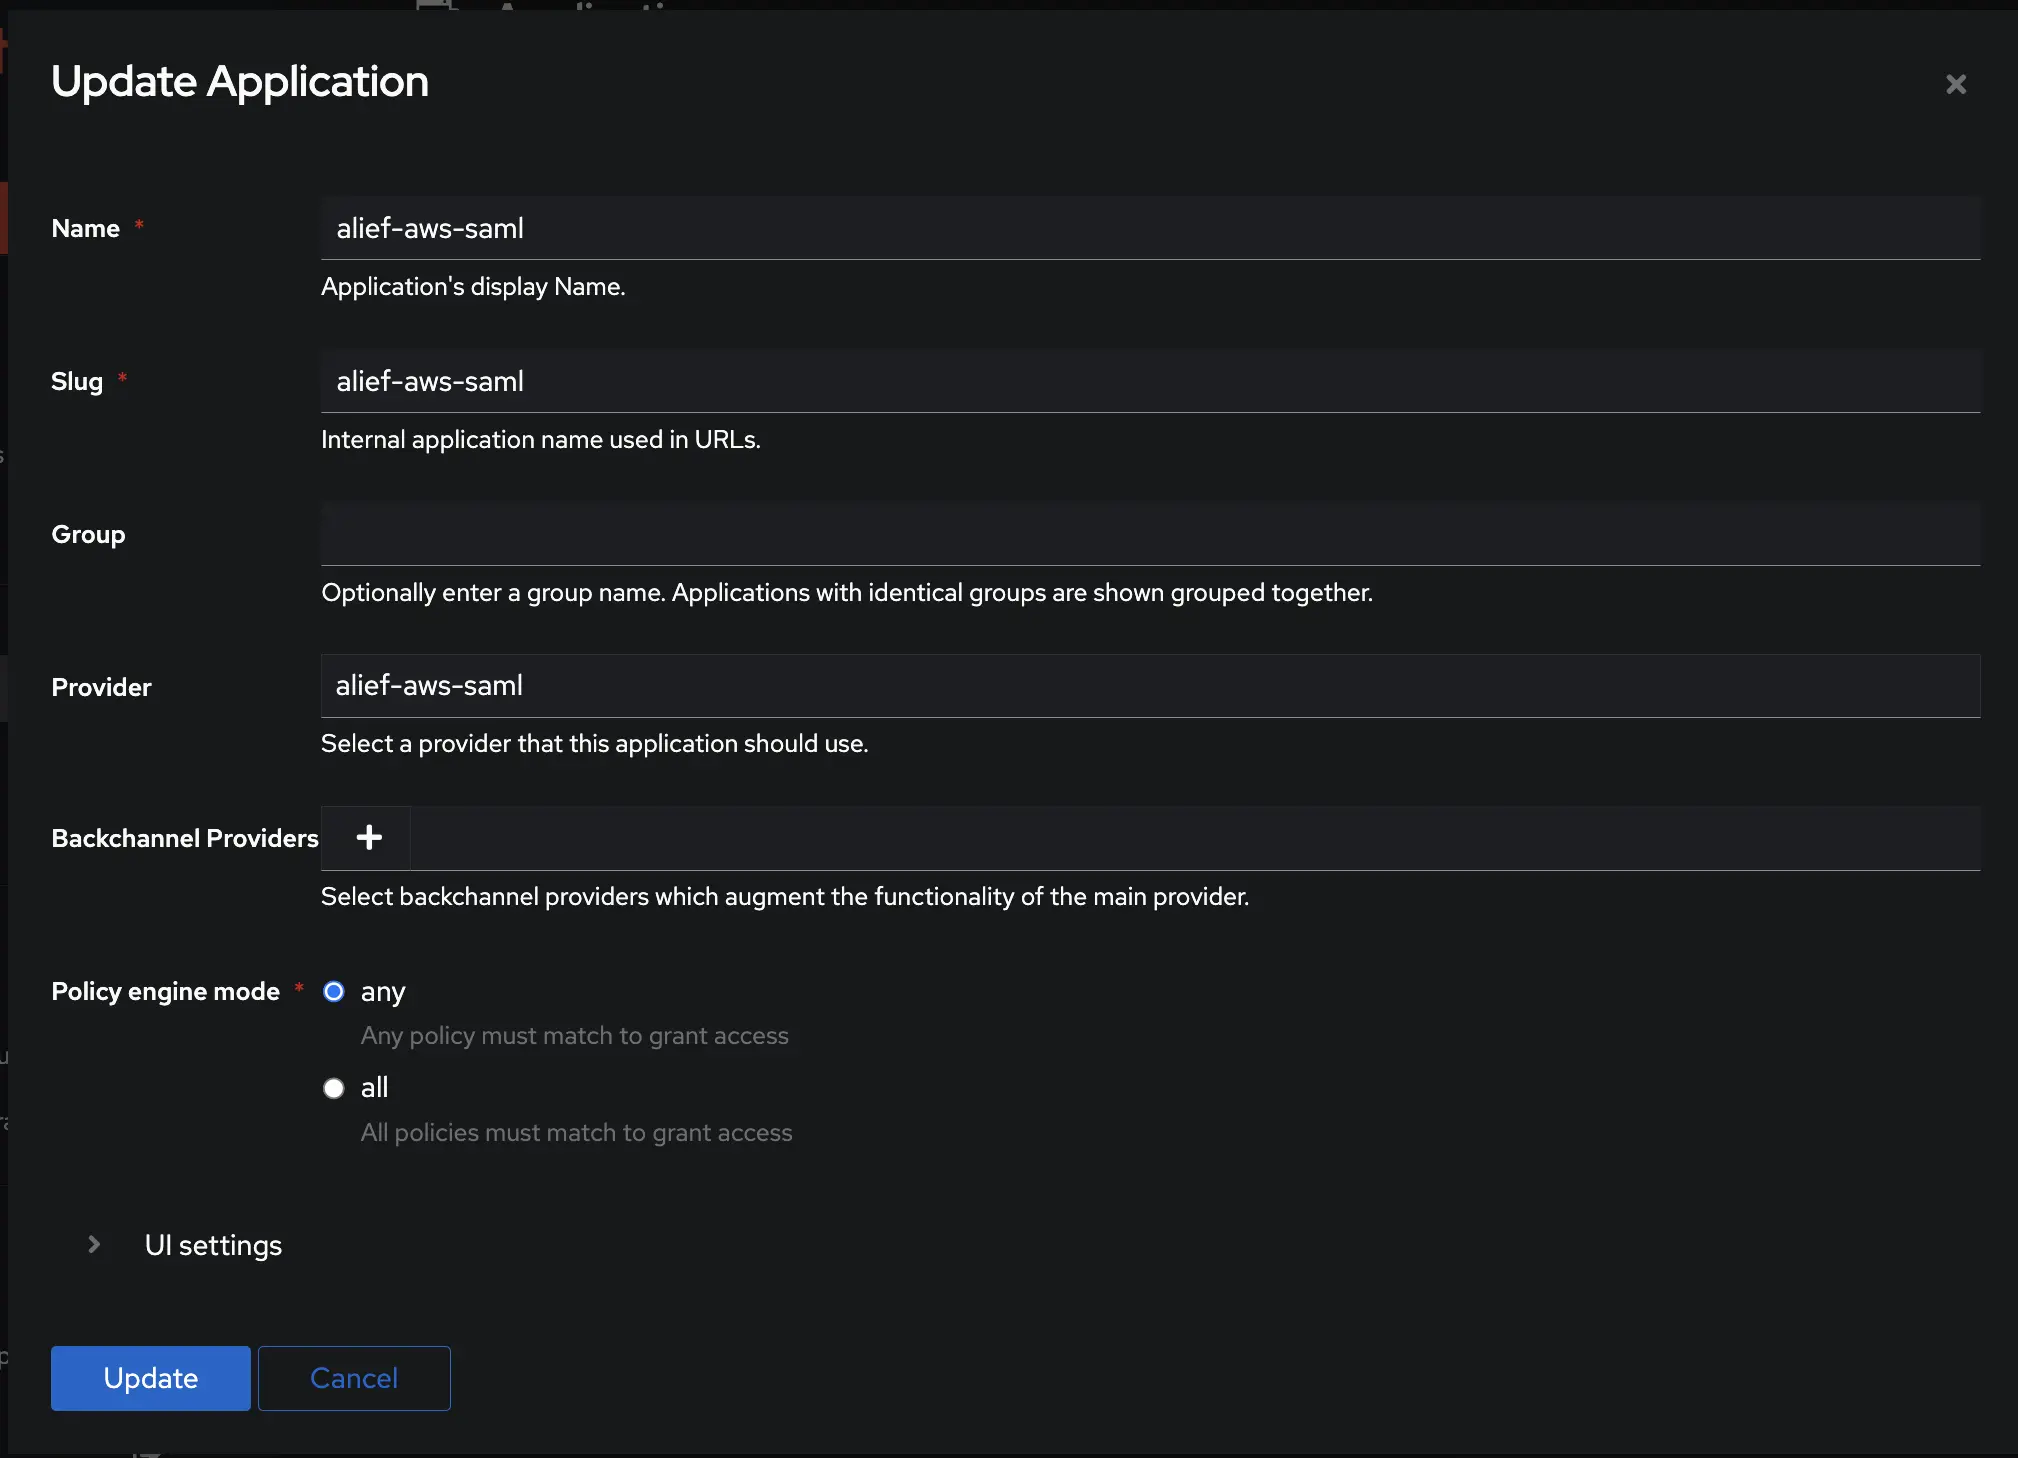
- Create an application in authentik and note the slug, as this will be used later. Create a SAML provider with the following parameters:
- ACS URL: https://signin.aws.amazon.com/saml
- Issuer: authentik
- Binding: Post
- Audience: urn:amazon:webservices Advance protocol settings :
- Signing Certificate : authentik Self-signed Certificate
- Propery Mappings : Select
alief-aws-roleandalief-aws-role-session, you can use ctrl/cmd button to multiple select.
- Create application.
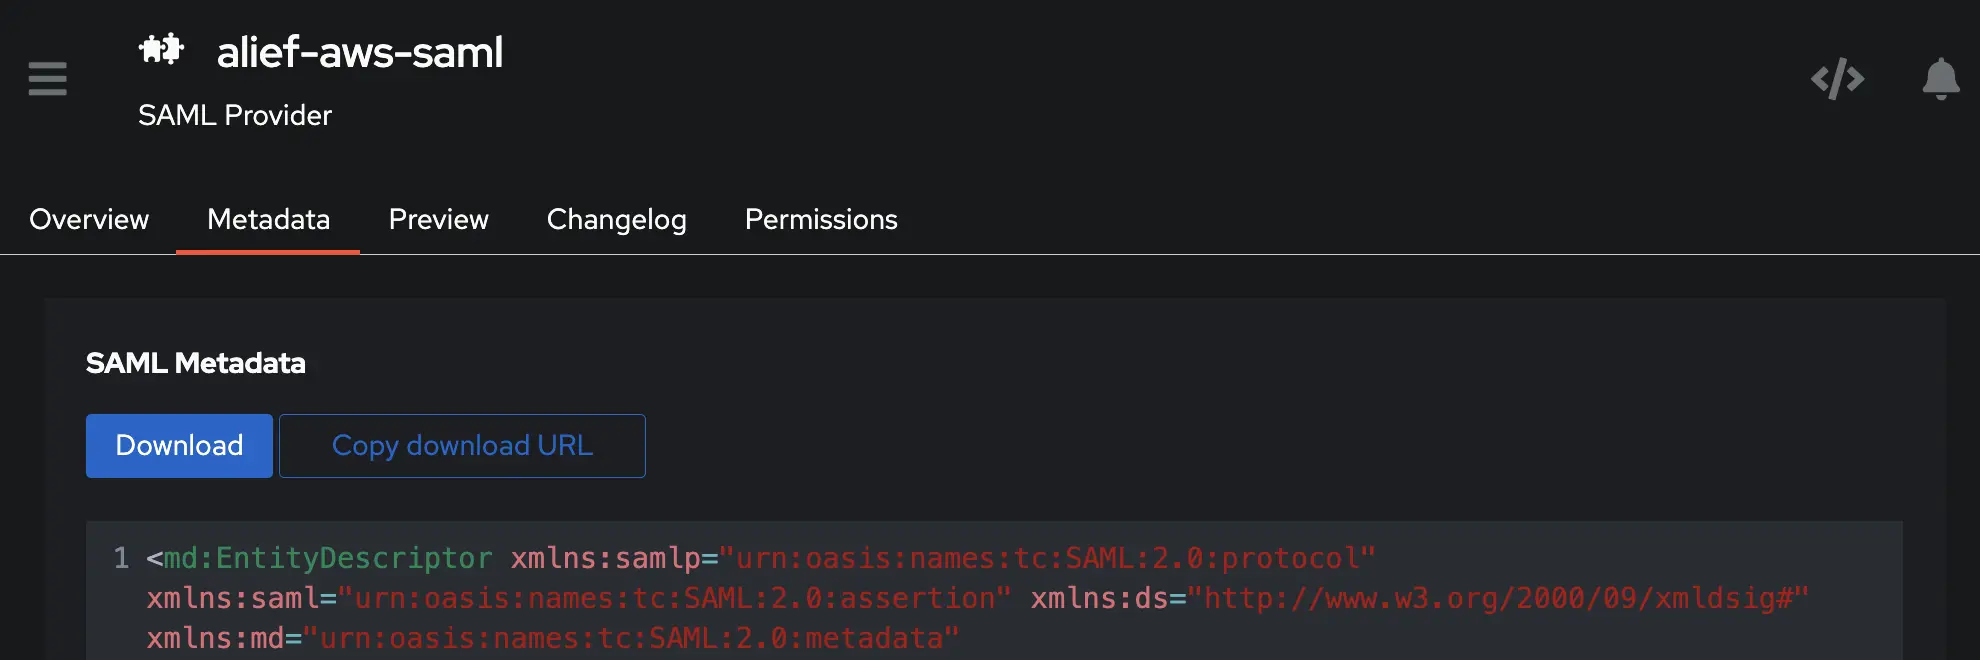
- Export metadata from authentik provider to be used later in AWS identity provider.
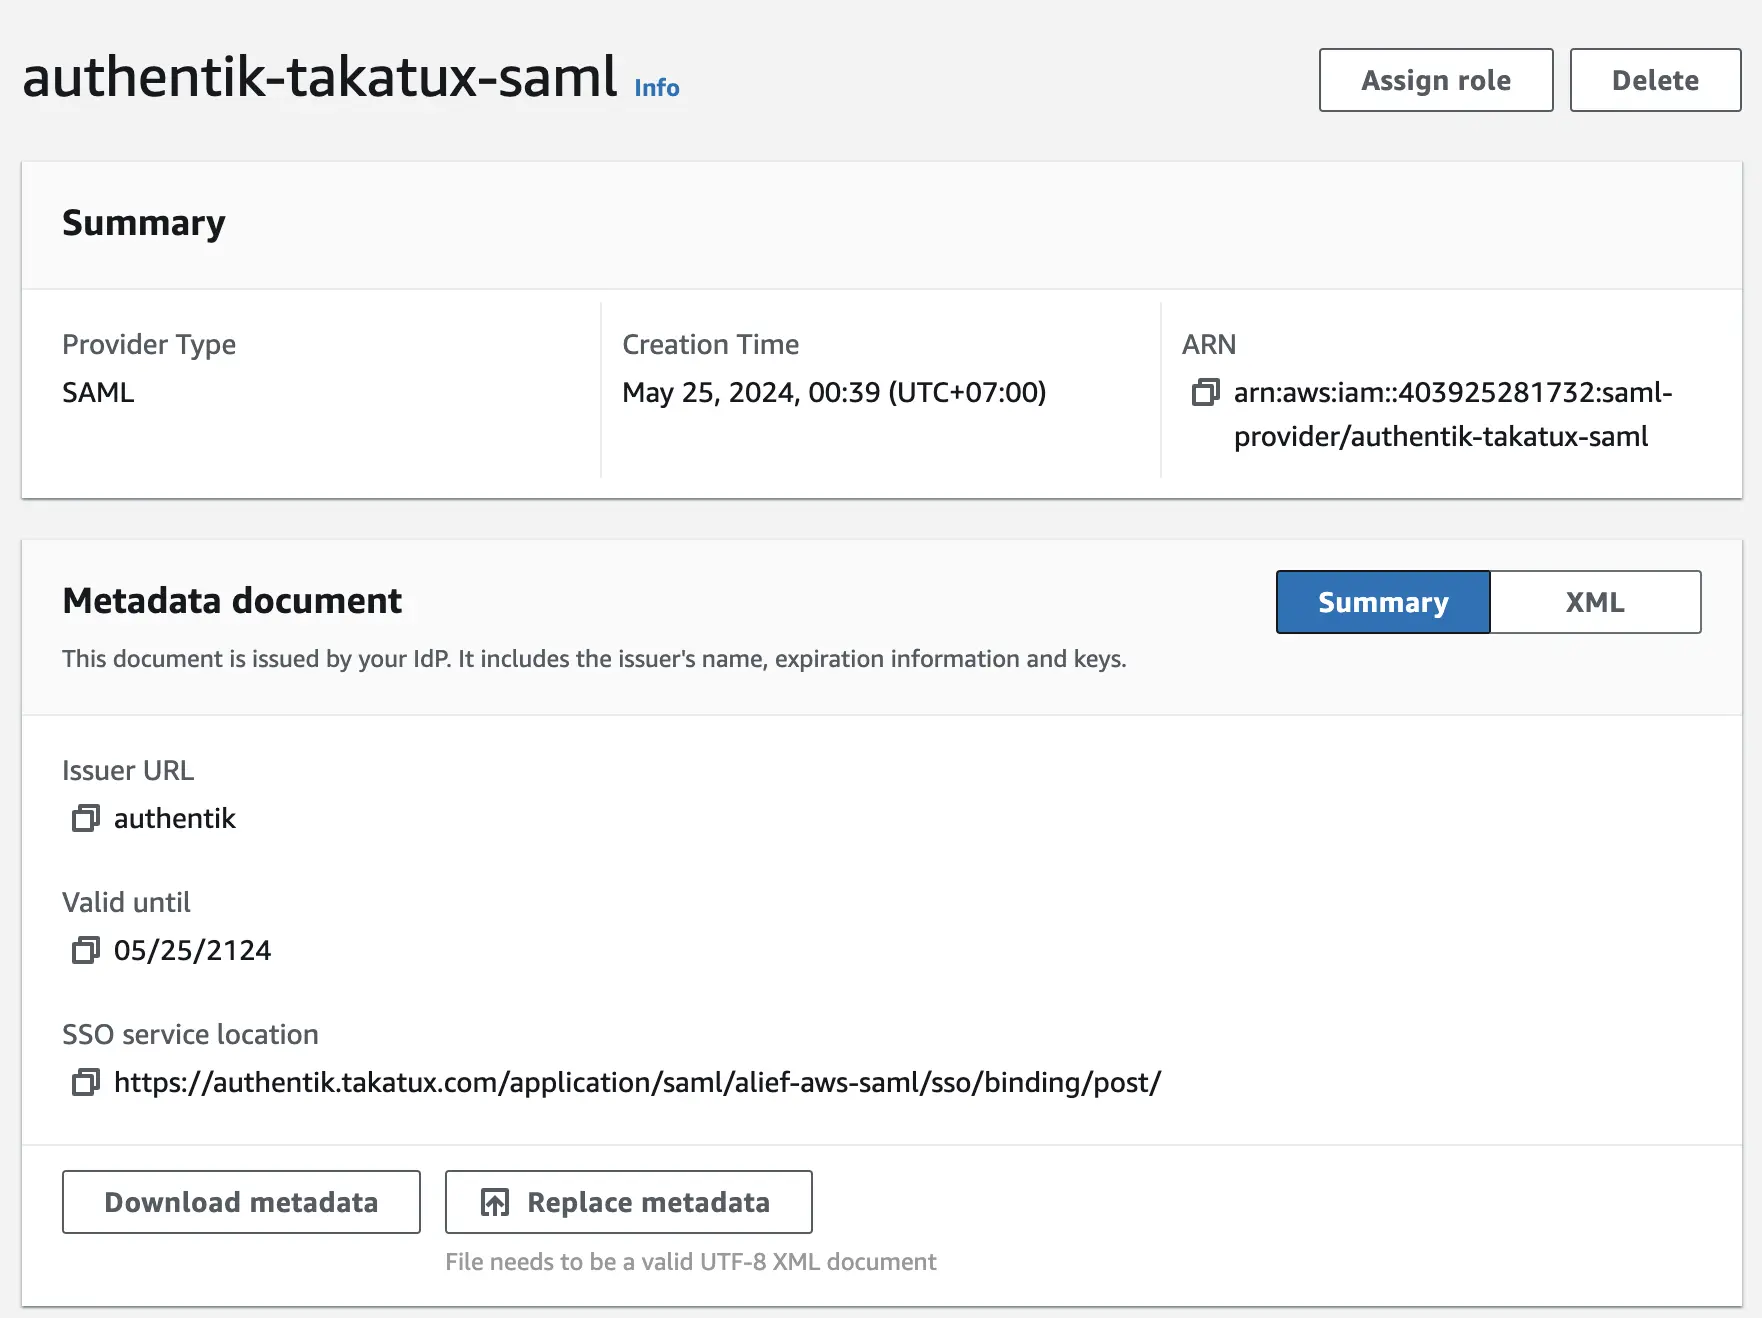
In your AWS account, create identity provider and assign a role to the identity provider
- Go to AWS IAM > Access Management > Identity Provider Add Provider
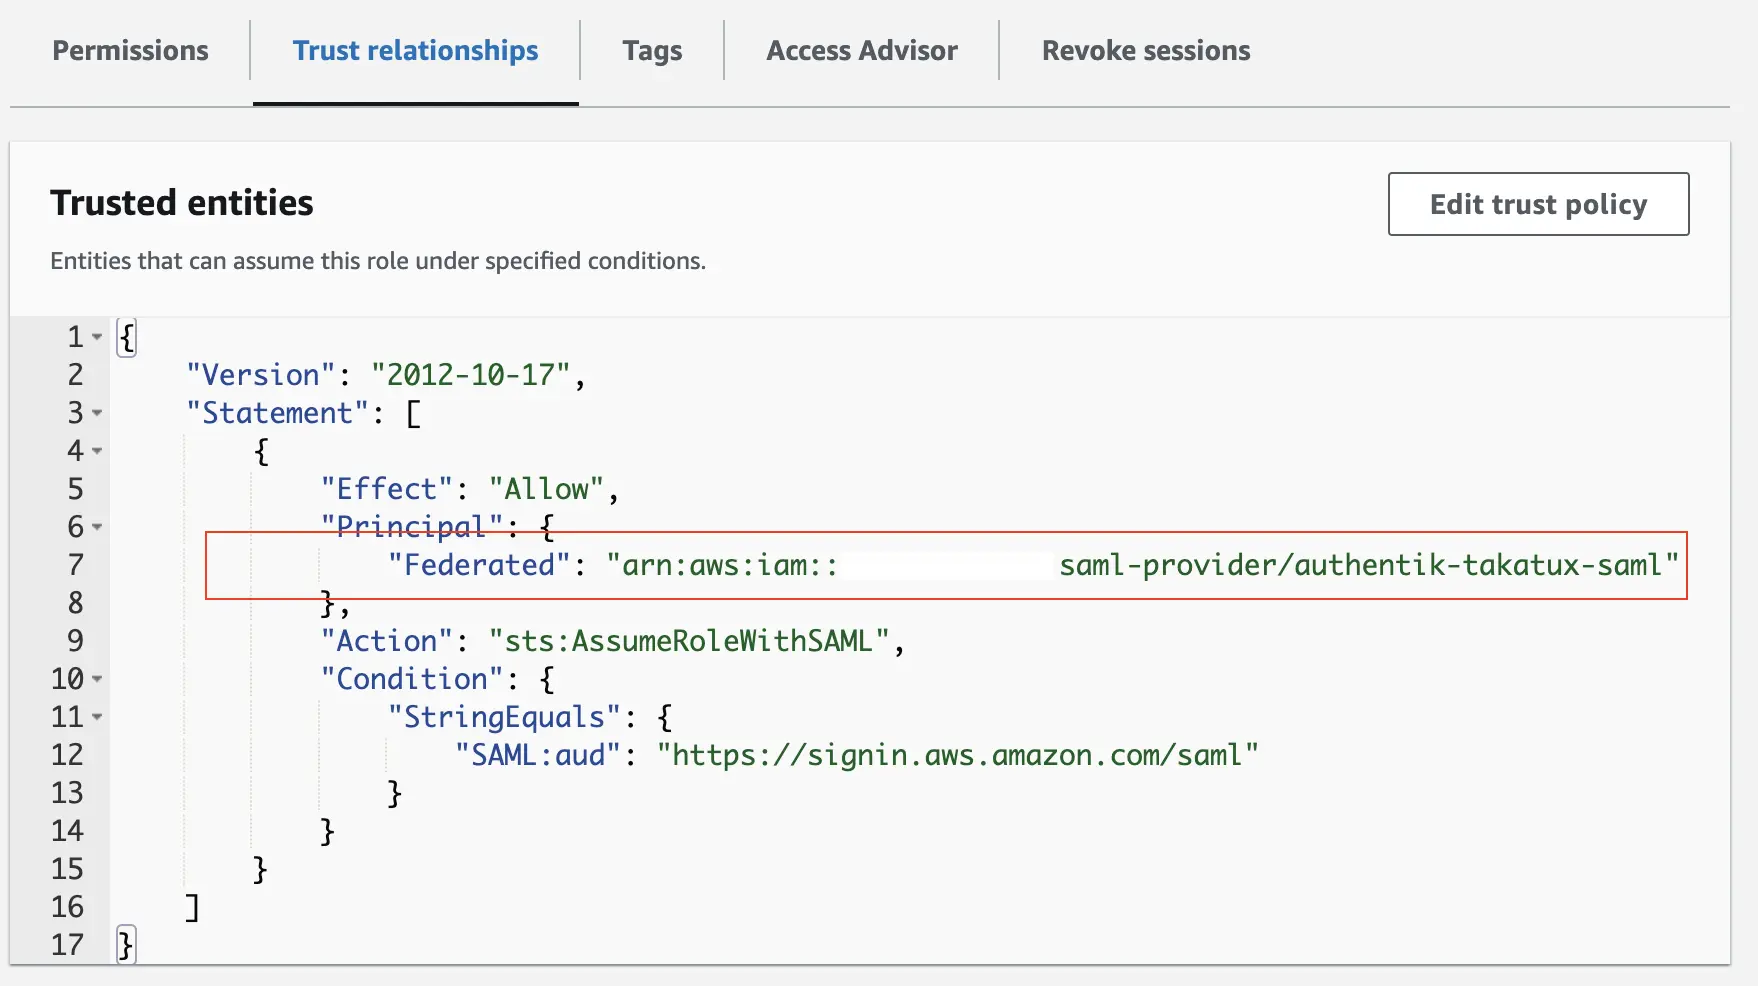
- Assign role to identity provider by adding IdP (identity provider) to the trusted entities on the role.
Try login from authentik
- Log out your authentik account and relogin, you will see an application when you succesfully login

- Click the application name and it will redirect you to AWS console.
- If success, you are now on AWS console page.
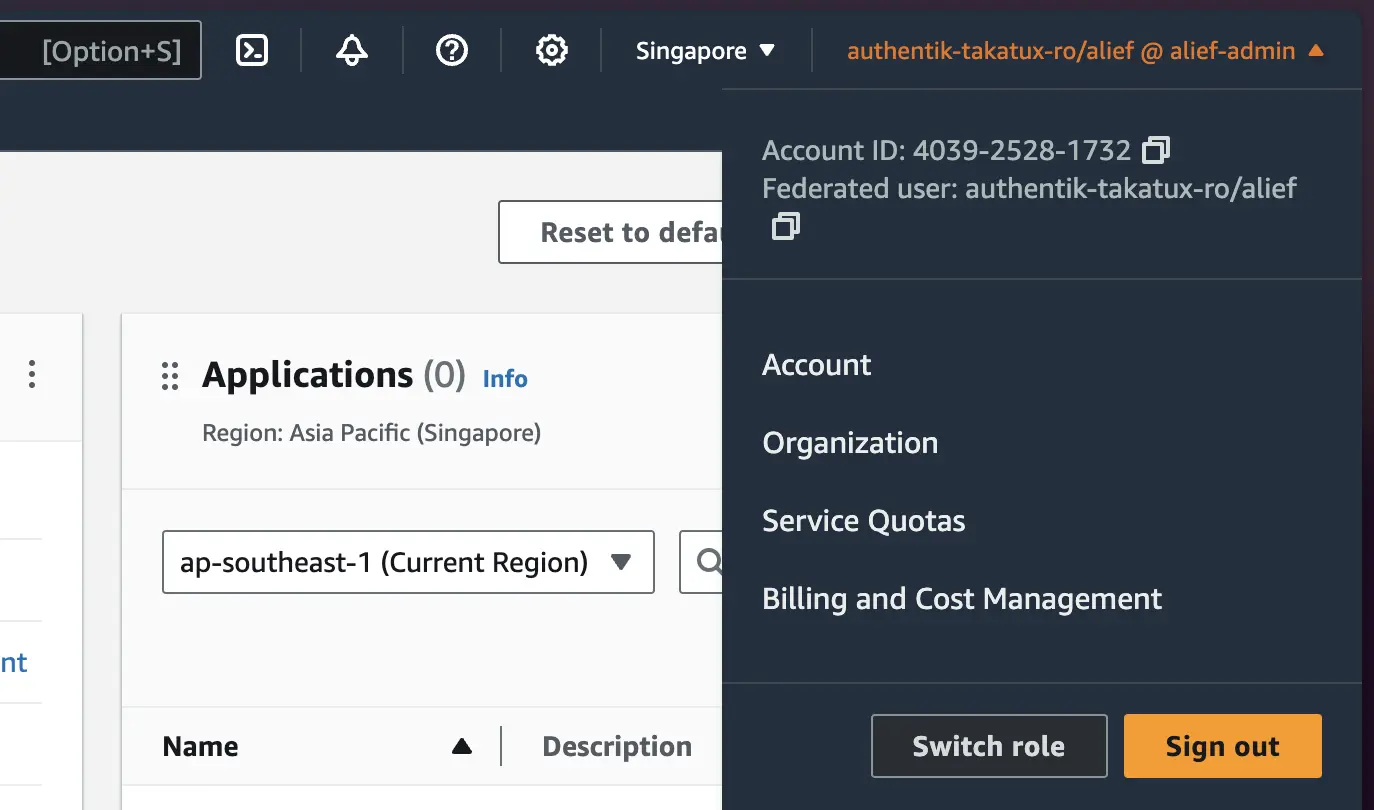
- Check the account it will show that it is a federated account from authentik.
References : [1]: https://docs.goauthentik.io/integrations/services/aws/#aws